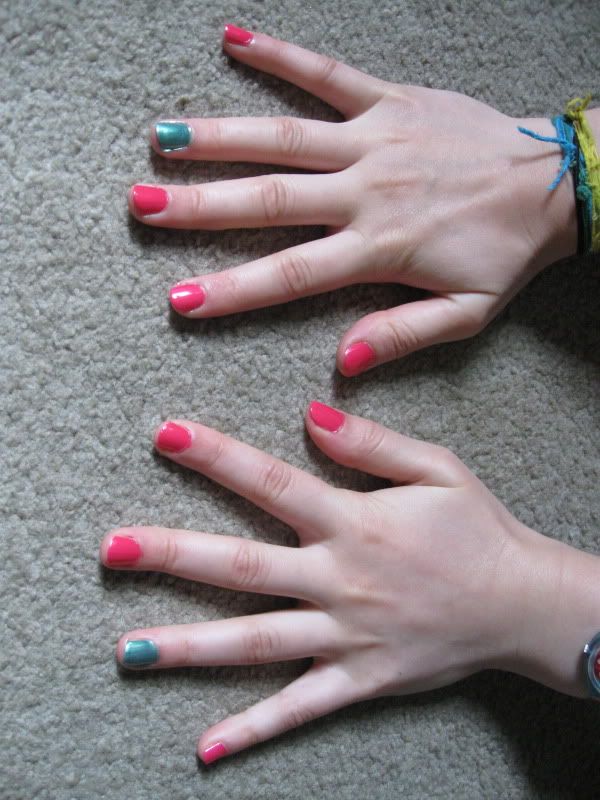
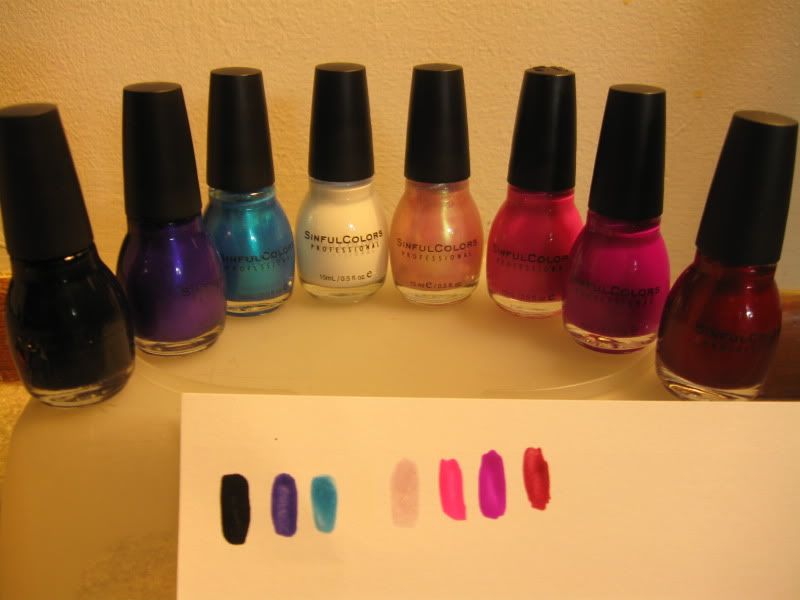
My mom was out and about and wherever she was, there was a huge nail polish sale! So she came home with a pretty nice Sinful Colors haul! Super super cheap, and the colors are great! We've tried them all so far except the white, purple and opal colored ones.
Sunday, August 29, 2010
Sinful Colors Haul
I'm real tired, but I wanted to do something. So just a quick post:
My mom was out and about and wherever she was, there was a huge nail polish sale! So she came home with a pretty nice Sinful Colors haul! Super super cheap, and the colors are great! We've tried them all so far except the white, purple and opal colored ones.
The blue is peacock blueish, but in some lights, it turns a teal green. It's also pretty shear, along with the opal. The purple is really hard to photograph but it's a nice mid-toned purple. The hot pink and fuchsia are super super bright and pop very nicely. The dark red is perfect for a Christmas red and has a bit of a shimmer to it, but not too much. Then the black and white are just like any other black and white. :P
My mom was out and about and wherever she was, there was a huge nail polish sale! So she came home with a pretty nice Sinful Colors haul! Super super cheap, and the colors are great! We've tried them all so far except the white, purple and opal colored ones.
Thursday, August 26, 2010
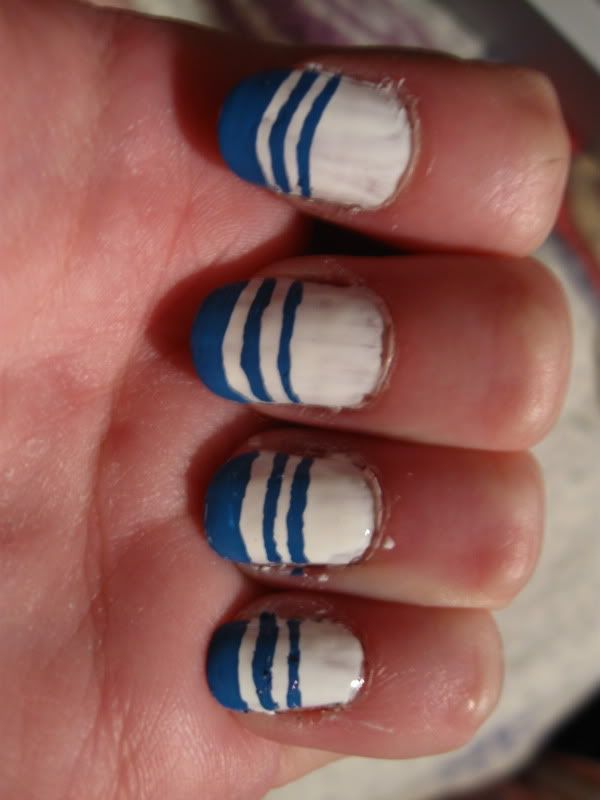
Missonaries of Charity Manicure
Today, August 26th, is Mother Teresa of Calcutta's 100th birthday. One of the most wonderful things she had done was found the Missionaries of Charity religious order. As a side note, If you don't know already, I'm going to be a nun someday. I have looked at this order and boy, they are some hardcore nuns!!
So in her honor, I was inspired to paint my nails with the famous three blue stripes that can be seen on their habits.
Pray for us Mother Teresa, and God Bless!
***Edit*** I added a poll to the right side column. It'll be open for two weeks. Please go vote! :D
Monday, August 16, 2010
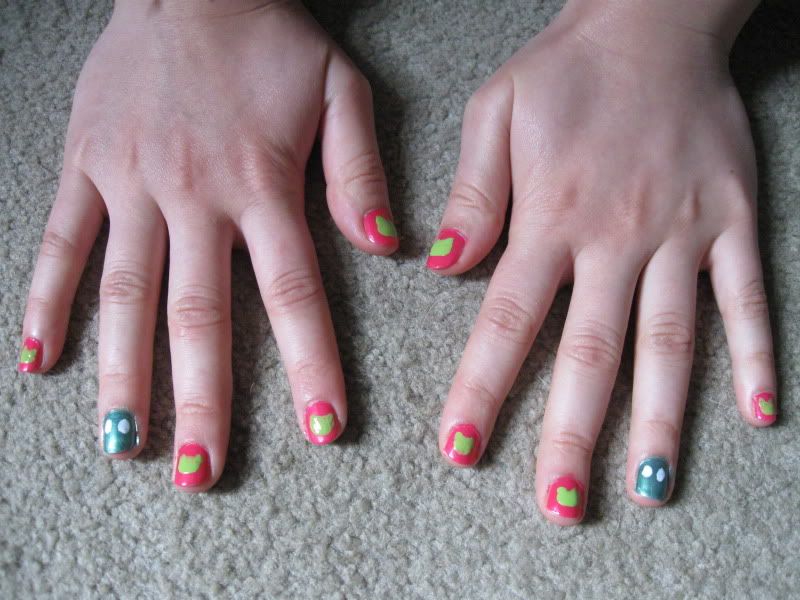
Pink Frog/Toad Manicure (Guest!)
Ok guys, hold on tight for this one! This manicure is a bit longer and has more steps than my others, but boy, did it turn out cute! Also, one of my best friends is modeling this manicure! She is mysteriously known as... 'Guestfingers'... *dun dun DUN*!
Lol, ok on to the manicure! :D
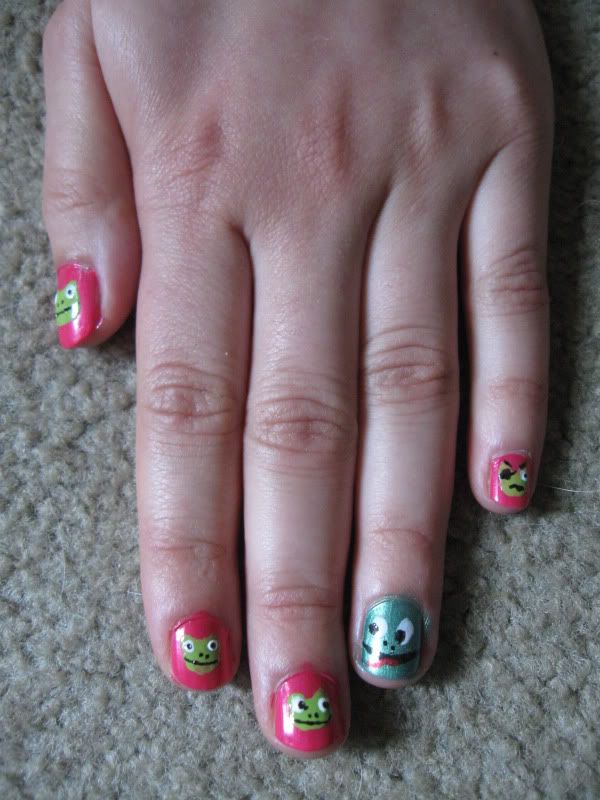
First off, I started by painting a pink base coat. On the ring fingers I painted a dark green.
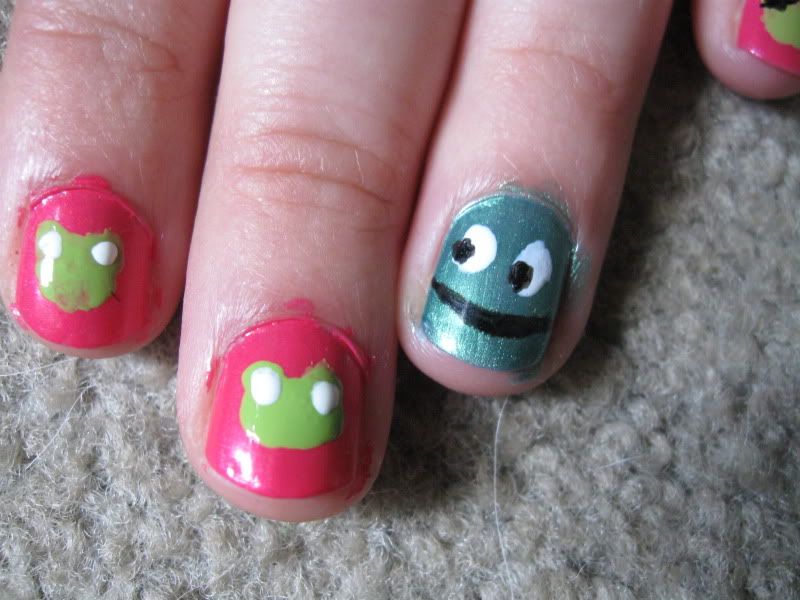
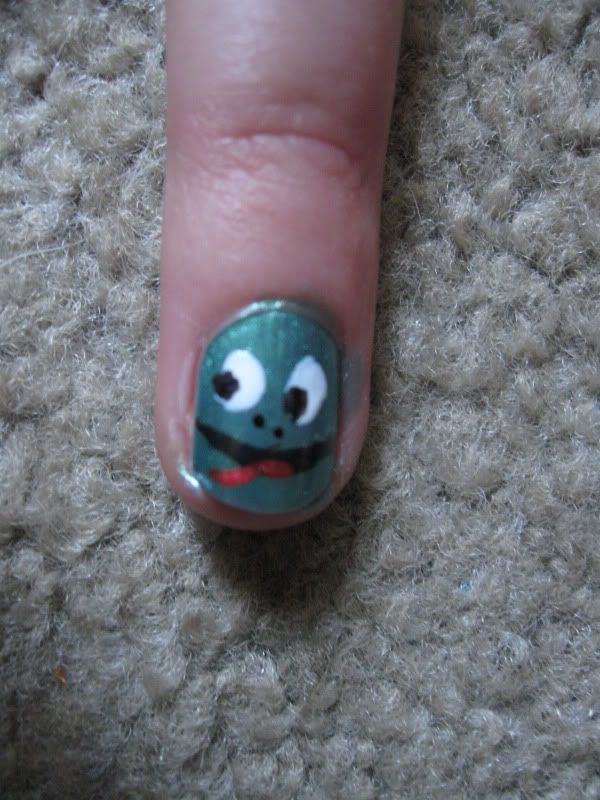
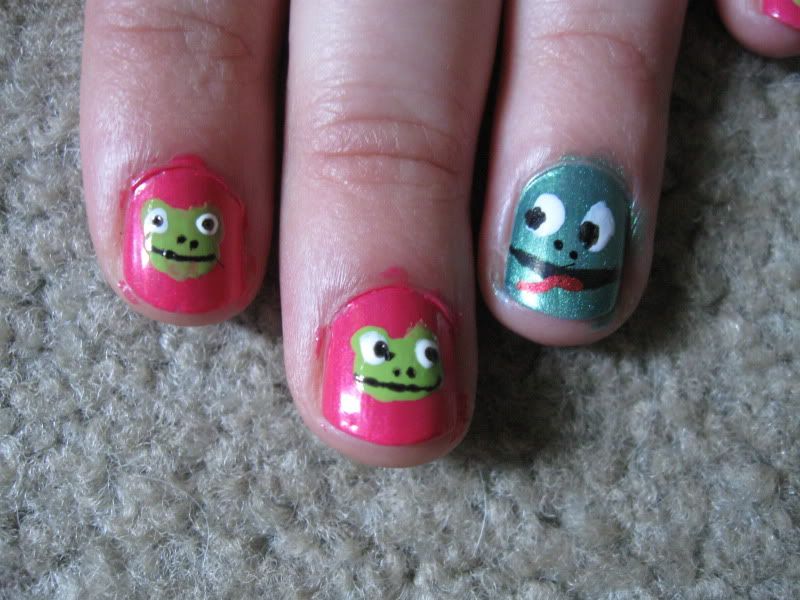
After that, you'll be painting the frog's heads. To do this, simply paint a green oval about 2/3 of the way down the nail. Next, add two small circles on top of the oval to make the eye sockets. It's similar to a Mickey Mouse logo, but with the ears closer together. :)
After that, paint two white circles on the ring fingers to make the eyes for the toad. It's very important to let your nails dry at this point or you'll risk ruining them when you go on to do the details.
Now onto the detail work! Take your white and add two circles in the eye sockets that we painted earlier. On the frog, add two small black circles in the white ones for the pupils. Draw a thin black line below it for the mouth.
It's easiest if you have a nail art pen for this, but a sharpie marker is just as effective! I've tried sharpies before and my only warning is to make sure your nails are super dry or they will ruin them. Also, you may need two or three coats of sharpie to make it opaque.
After the black has dried on the ring fingers, draw a thin red or pink curvy line for it's tongue. I also added two small black dots for nostrils.
On the other fingers, take your black again and draw in the pupils. Draw a thin black line for the mouth and two small dots for nostrils.
Ta-dah! All done! It came out super adorable. Feel free to change background colors if you don't like pink or even experiment with the frog's expressions. 'Guestfingers' even wanted a little pirate frog on her pinky, haha!
Overall, the whole manicure isn't too hard. You just need some time and patience. :)
A very special thanks to the mysterious 'Guestfingers' for modeling! :D
Subscribe to:
Posts (Atom)