Lol, ok on to the manicure! :D
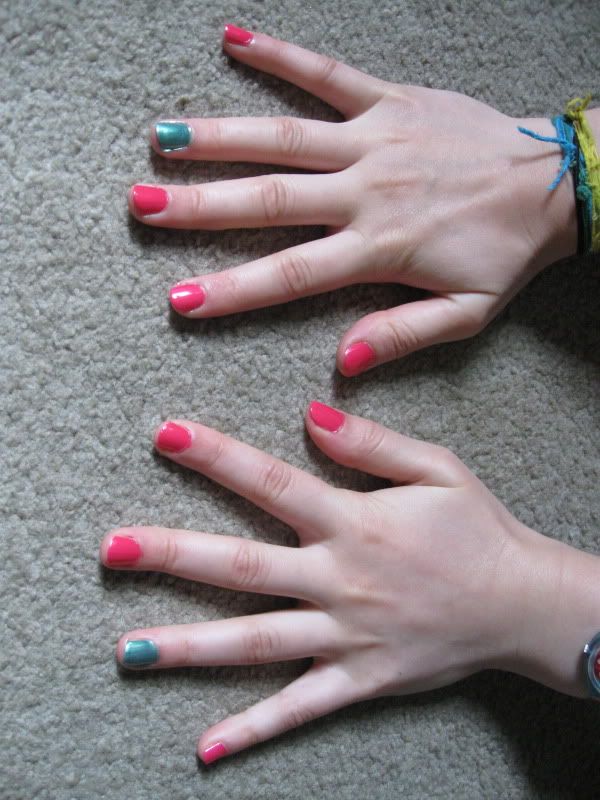
First off, I started by painting a pink base coat. On the ring fingers I painted a dark green.
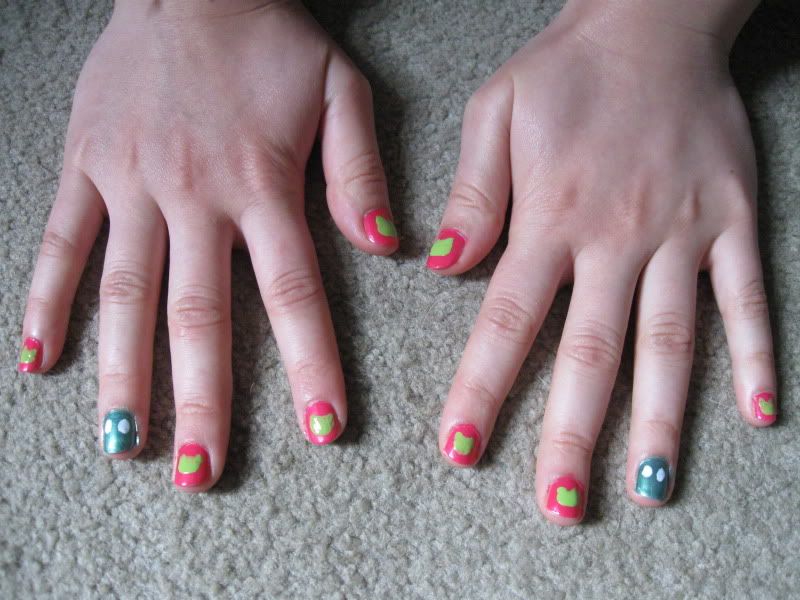
After that, you'll be painting the frog's heads. To do this, simply paint a green oval about 2/3 of the way down the nail. Next, add two small circles on top of the oval to make the eye sockets. It's similar to a Mickey Mouse logo, but with the ears closer together. :)
After that, paint two white circles on the ring fingers to make the eyes for the toad. It's very important to let your nails dry at this point or you'll risk ruining them when you go on to do the details.
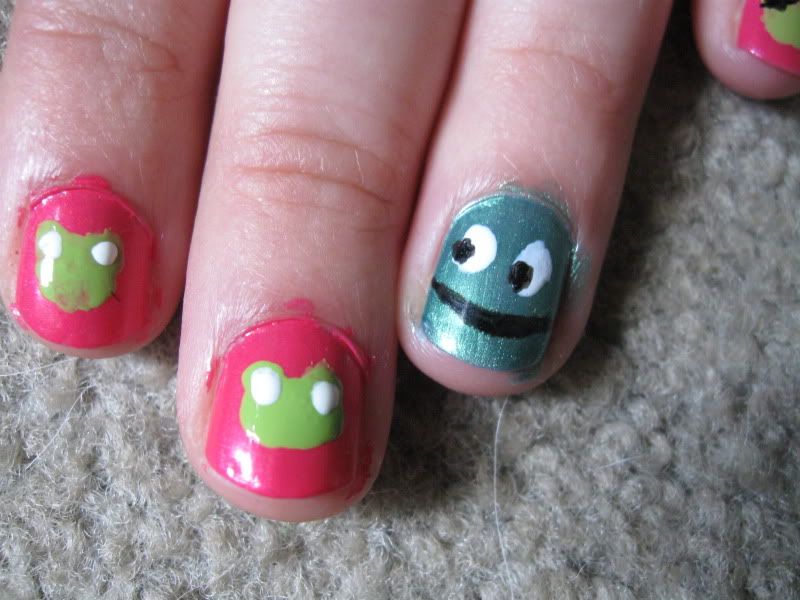
Now onto the detail work! Take your white and add two circles in the eye sockets that we painted earlier. On the frog, add two small black circles in the white ones for the pupils. Draw a thin black line below it for the mouth.
It's easiest if you have a nail art pen for this, but a sharpie marker is just as effective! I've tried sharpies before and my only warning is to make sure your nails are super dry or they will ruin them. Also, you may need two or three coats of sharpie to make it opaque.
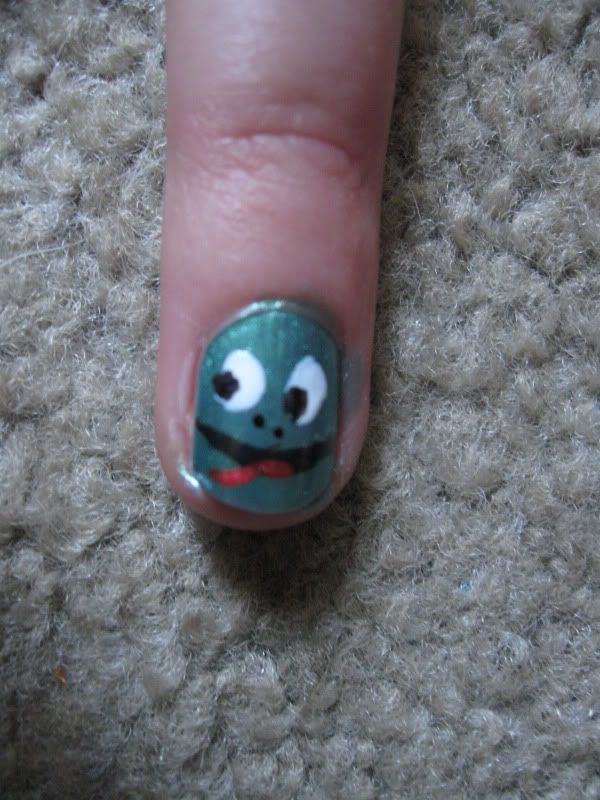
After the black has dried on the ring fingers, draw a thin red or pink curvy line for it's tongue. I also added two small black dots for nostrils.
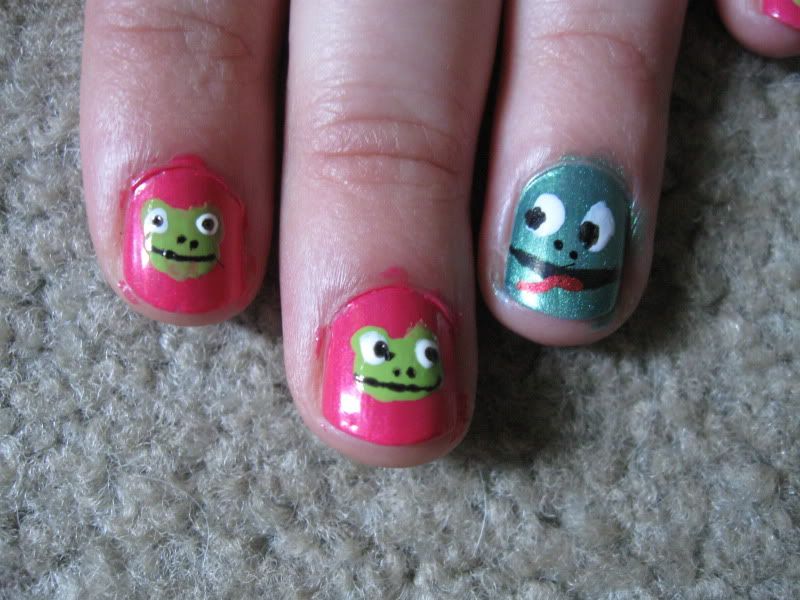
On the other fingers, take your black again and draw in the pupils. Draw a thin black line for the mouth and two small dots for nostrils.
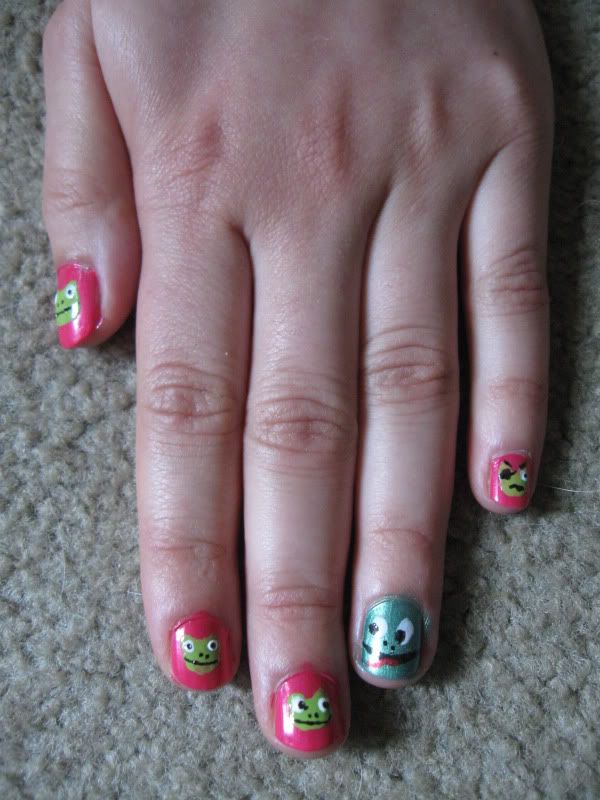
Ta-dah! All done! It came out super adorable. Feel free to change background colors if you don't like pink or even experiment with the frog's expressions. 'Guestfingers' even wanted a little pirate frog on her pinky, haha!
Overall, the whole manicure isn't too hard. You just need some time and patience. :)
A very special thanks to the mysterious 'Guestfingers' for modeling! :D
A very special thanks to the mysterious 'Guestfingers' for modeling! :D
spratt you would be guestfingers...lol
ReplyDelete