Until then, I'll have to save that manicure for later. It's not in time for Halloween, but TNBC is fun any time of the year. So to make up for that and the lack of Halloween manicures, I have a double feature for you today! Here are two similar glow-in-the-dark Halloween manicures!
I decided to go with Jack-o-lanterns this year for Halloween. Very simple to do and they look fun! All you need is orange nail polish and a black sharpie or nail art pen.
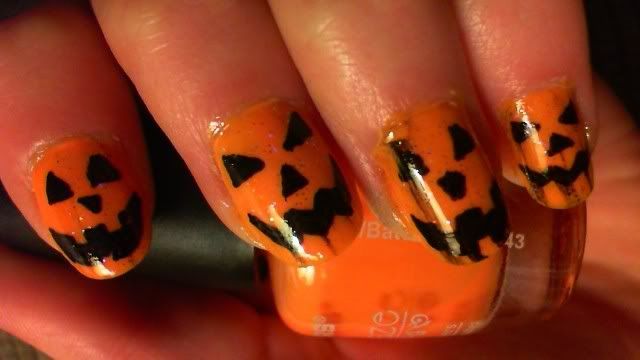
(excuse the smudges)!!!
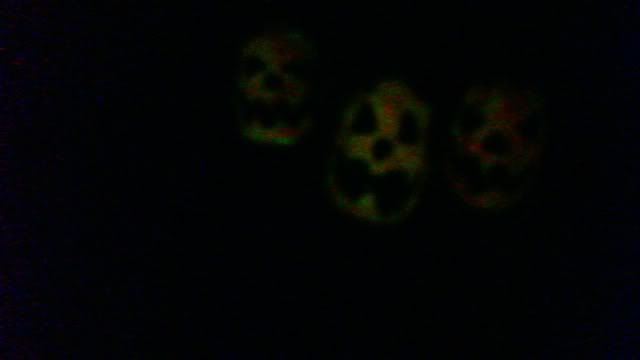
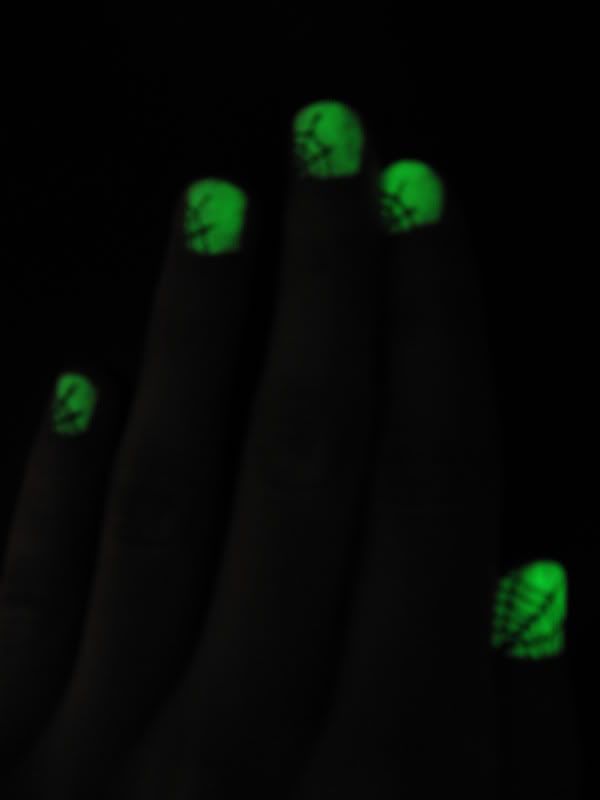
But, that's not all! These pumpkins also glow!!! I couldn't get a very good picture of the glowing, and my glow-in-the-dark polish was a little off this year. I think it's time to get a new one. :/
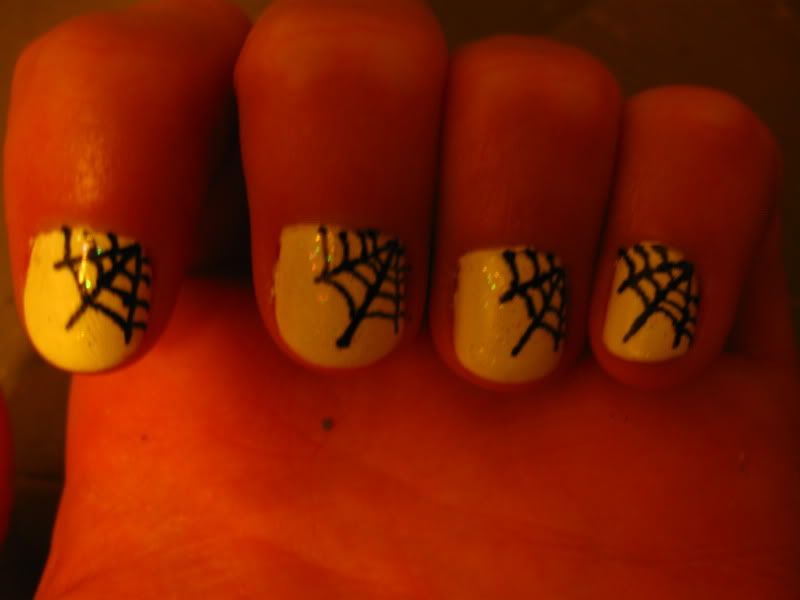
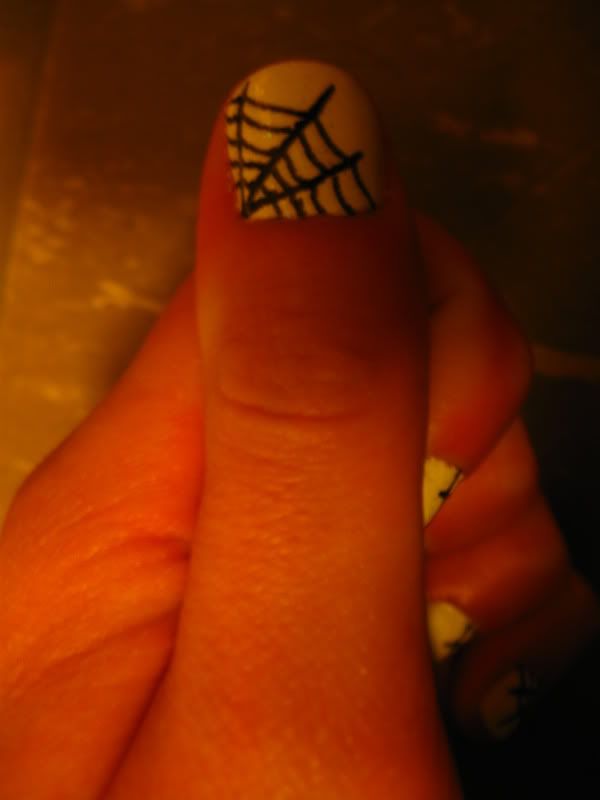
Last year I did a similar manicure. Instead, I used white nail polish and a spiderweb design. The principle is still the same though, draw on your design after you put a glow layer down. You can really use any color and any design you'd like! I, personally, think a bat would look awesome... ;)
So let's end on that note. Happy Halloween to everyone! Stay safe!
awesome!!! nice job taking pictures of the glow in the dark part!
ReplyDelete