Monday, August 16, 2010

Pink Frog/Toad Manicure (Guest!)

Ok guys, hold on tight for this one! This manicure is a bit longer and has more steps than my others, but boy, did it turn out cute! Also, one of my best friends is modeling this manicure! She is mysteriously known as... 'Guestfingers'... *dun dun DUN*!

Lol, ok on to the manicure! :D


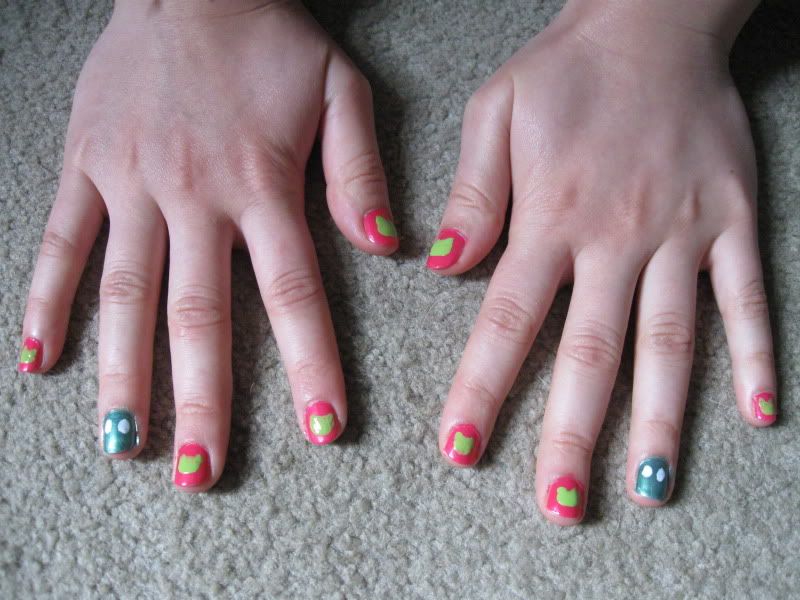
First off, I started by painting a pink base coat. On the ring fingers I painted a dark green.


After that, you'll be painting the frog's heads. To do this, simply paint a green oval about 2/3 of the way down the nail. Next, add two small circles on top of the oval to make the eye sockets. It's similar to a Mickey Mouse logo, but with the ears closer together. :)

After that, paint two white circles on the ring fingers to make the eyes for the toad. It's very important to let your nails dry at this point or you'll risk ruining them when you go on to do the details.


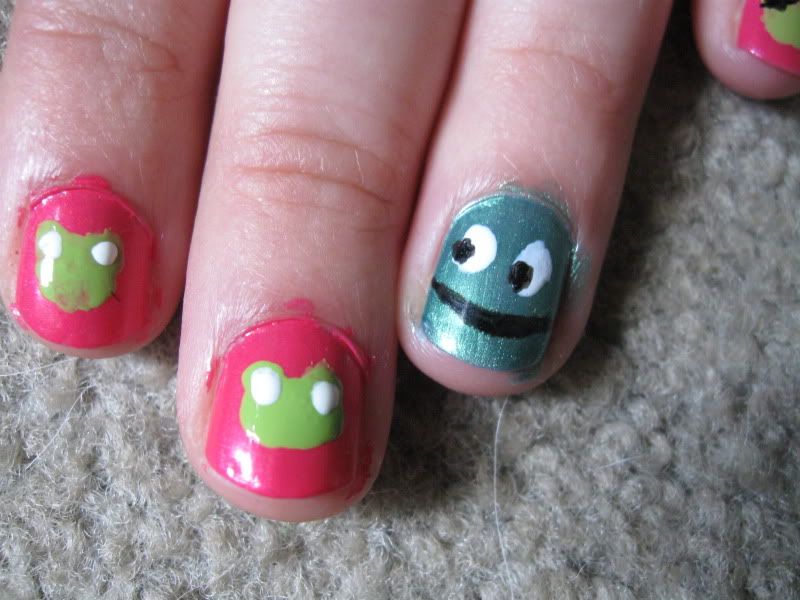
Now onto the detail work! Take your white and add two circles in the eye sockets that we painted earlier. On the frog, add two small black circles in the white ones for the pupils. Draw a thin black line below it for the mouth.

It's easiest if you have a nail art pen for this, but a sharpie marker is just as effective! I've tried sharpies before and my only warning is to make sure your nails are super dry or they will ruin them. Also, you may need two or three coats of sharpie to make it opaque.


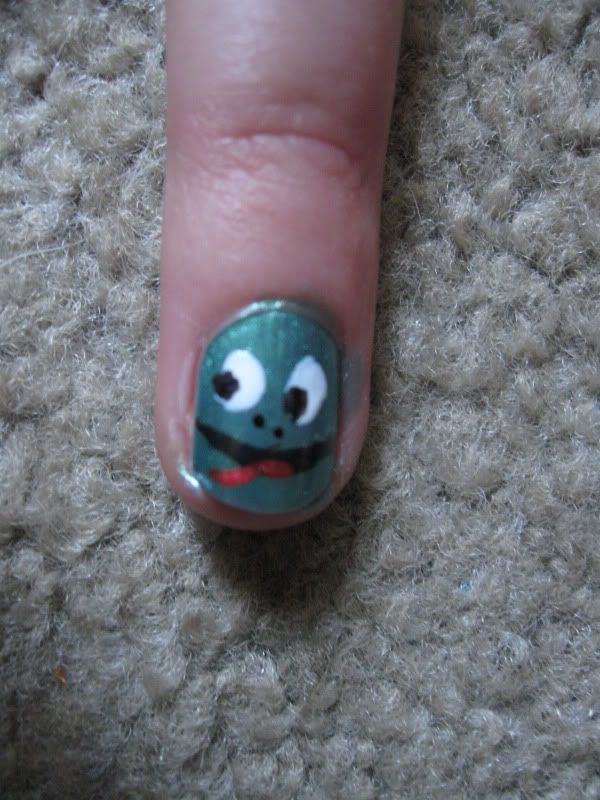
After the black has dried on the ring fingers, draw a thin red or pink curvy line for it's tongue. I also added two small black dots for nostrils.


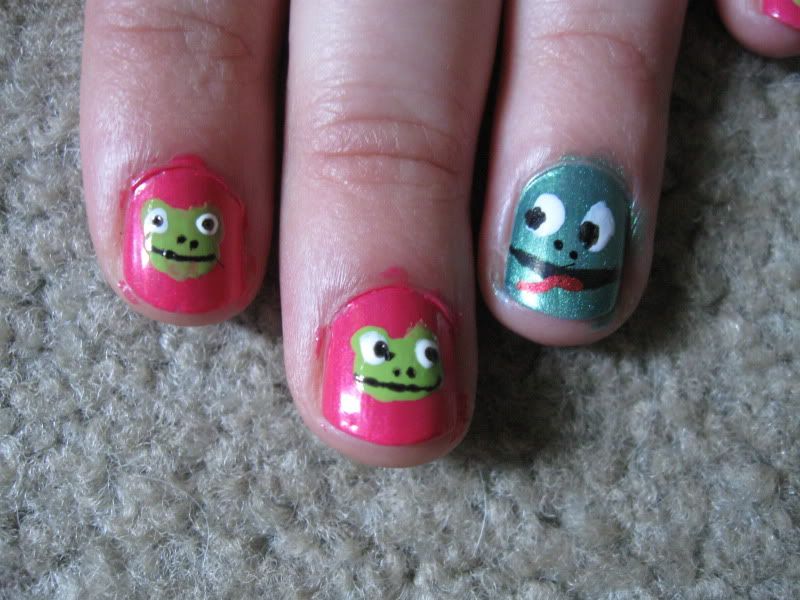
On the other fingers, take your black again and draw in the pupils. Draw a thin black line for the mouth and two small dots for nostrils.


Ta-dah! All done! It came out super adorable. Feel free to change background colors if you don't like pink or even experiment with the frog's expressions. 'Guestfingers' even wanted a little pirate frog on her pinky, haha!

Overall, the whole manicure isn't too hard. You just need some time and patience. :)

A very special thanks to the mysterious 'Guestfingers' for modeling! :D

Sunday, July 25, 2010

Sally Hansen - Hard As Nail Xtreme Wear - Review

Ok, now I know I said I wasn't going to do reviews, but I have a bunch of these and I found this line pretty interesting...

Alright, so I'm reviewing a few colors in the Sally Hansen's Hard As Nail Xteme Wear line. First, let's start with the disclaimer: I have not paid for these products; they were given to me by my mother. I am not being paid in any sort of way for this review and this is my honest opinion.

Not all the colors have the same, so I can't speak for every color in the line, but after trying 6 of them, I think I can give a fair review.


ALL of the polishes started off super watery. The brush isn't very good either and doesn't hold the polish, so you'll make a huge mess if you're not careful! After your first or second try, they level out to the consistency of normal polish.

That is, except the white. The white just sucks. It thicken up super fast and it's now like painting with paste. I've thinned it out twice already and it's started getting thick again. The white also looks flat like white out, so unless you like that sort of thing, I would NOT recommend the white. HOWEVER, it's very pigment and is the right consistency for a Konad. It's a perfect, cheap alternative.

The yellow and orange are super shear, so you'll need 5+ coats to get bottle color. Either that or layer it on top of a white coat. I suppose you could also try layering it ontop of another color if you want to experiment.

The green is nice, but it's starting to thicken up like the white, though not as quickly. It's pretty pigmented, opaque in thin 2 coats.

Marine Scene is really good, it reminds me of a peacock blue. It's a frosted with a little shimmer in there. It takes maybe 3 or 4 coats to be opaque, but it's wearable after 2. It's also great to layer on top of another color. I have a frosted green and I put a coat of this over it and it looks gorgeous!

And the best of the bunch is Blue Me Away... it really did blow me away! I have never been so impressed with a nail polish before! It was opaque in 1 coat, is pretty chip resistant, and super cheap! And I just LOVE the color! It looks great on cool skin tones and really jumps out! The only downside to this polish is that when you try to remove it with polish remover, it stains your fingers blue for a few hours. Otherwise, I think it's a great bang for your buck and I would definitely recommend this color! In fact I better go out and get another bottle soon! :D

Overall, they aren't a fantastic nail polish but not bad either. The bottles are small, BUT they are VERY cheap, ($2.50-$3.50ish at walmart and drugstores) so I think they are well worth a try! The color selection is also very good and they have some very unique shades. There aren't very many nudes or skin tones, so this is a line for a girl who loves color!!!

Sunday, July 4, 2010

Patriotic Pedicure

Happy 4th of July everyone! Sorry this post is a little late in the day, but here is the pedicure I've been sporting for the holiday! I invented this last year and I just love it!


It's very easy to do. I started by painting my big toes blue and all the others red.


After that, I just put white dots on the blue to represent the field of stars, and white strips on the red for the rest of the flag.


I chose to paint vertical stripes because they make your nails look longer and thinner. This is especially important for your toes because they are already broad and short for most people.

That is it! Easy and quick patriotic design that looks great! I got a ton of compliments on these and my cousin even asked to come over to paint her nails sometime! Happy 4th everyone! :D