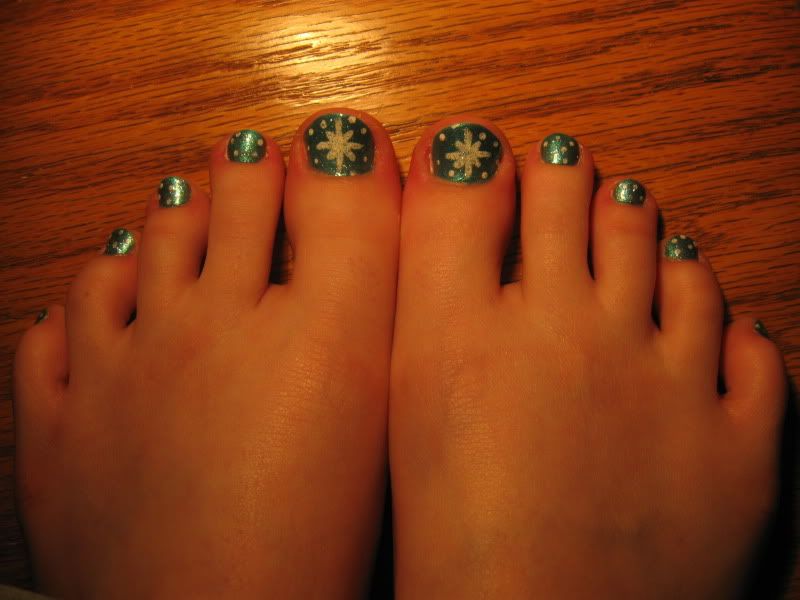
This is the current pedicure I'm wearing! All you need is a blue, white and a clear coat to make the polish last longer. I also used a coat of a glitter nailpolish, but this is optional.
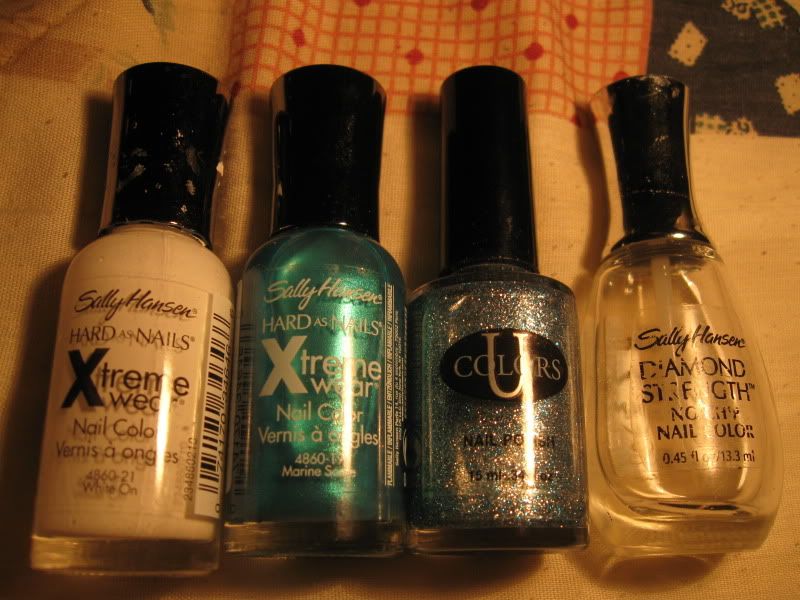
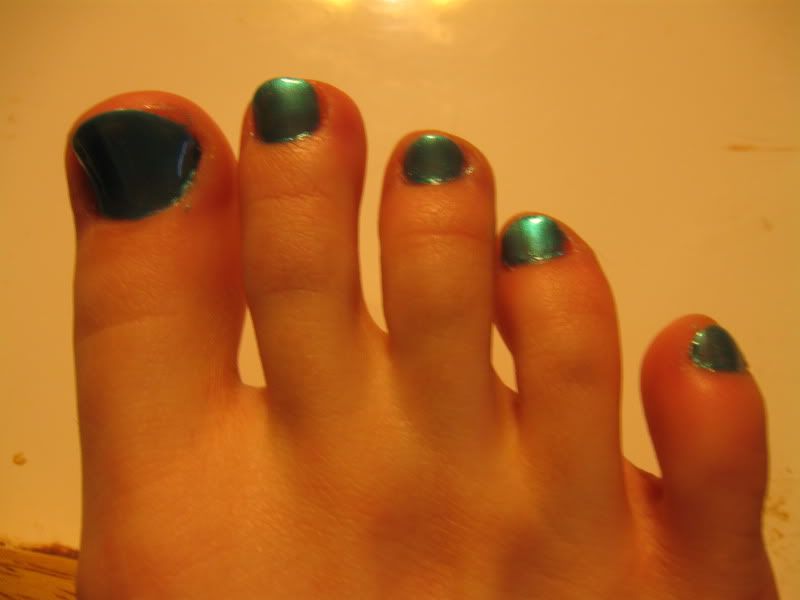
Start off your pedicure with a base coat polish. I simply used a clear top coat for my base. It works just as well as a special base polish. Then I painted several coats of blue
Using a nail art brush, I painted a large white snowflake on my big toe. If you don't have a nail art brush, a skinny paint brush or a nail art pen will work just as well. If you don't have either, just use a tooth pick. I find tooth picks hard to draw clean straight lines with, but it can be done. You'll just have to be a bit more patient with it.
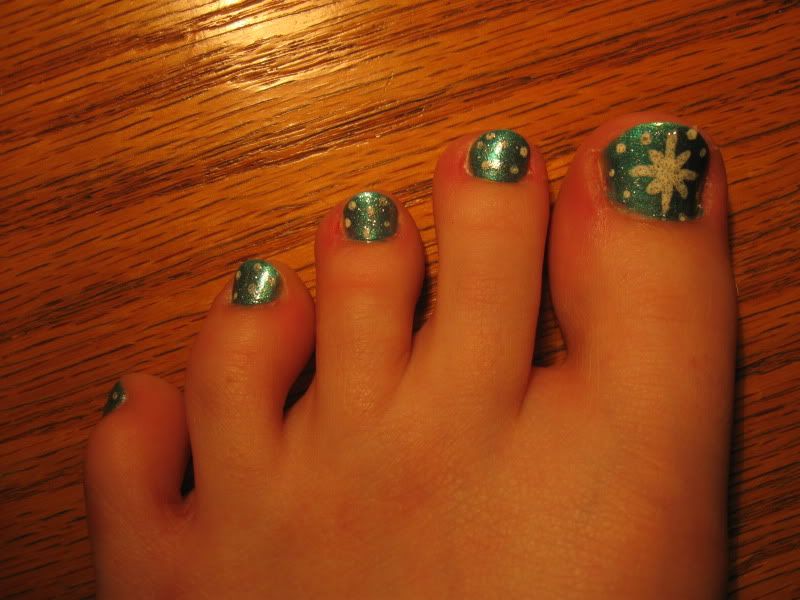
Paint small white dots randomly scattered on the other toes. I used a dotting tool, but toothpicks are WONDERFUL for this. I painted a coat of glitter polish on my toes, but that is optional for you. For me, it made the blue look a bit more frosty. Finish with a clear top coat!
No comments:
Post a Comment